How to fit your Glass Splashbacks
5 STEPS TO FIT
YOUR SPLASHBACK.
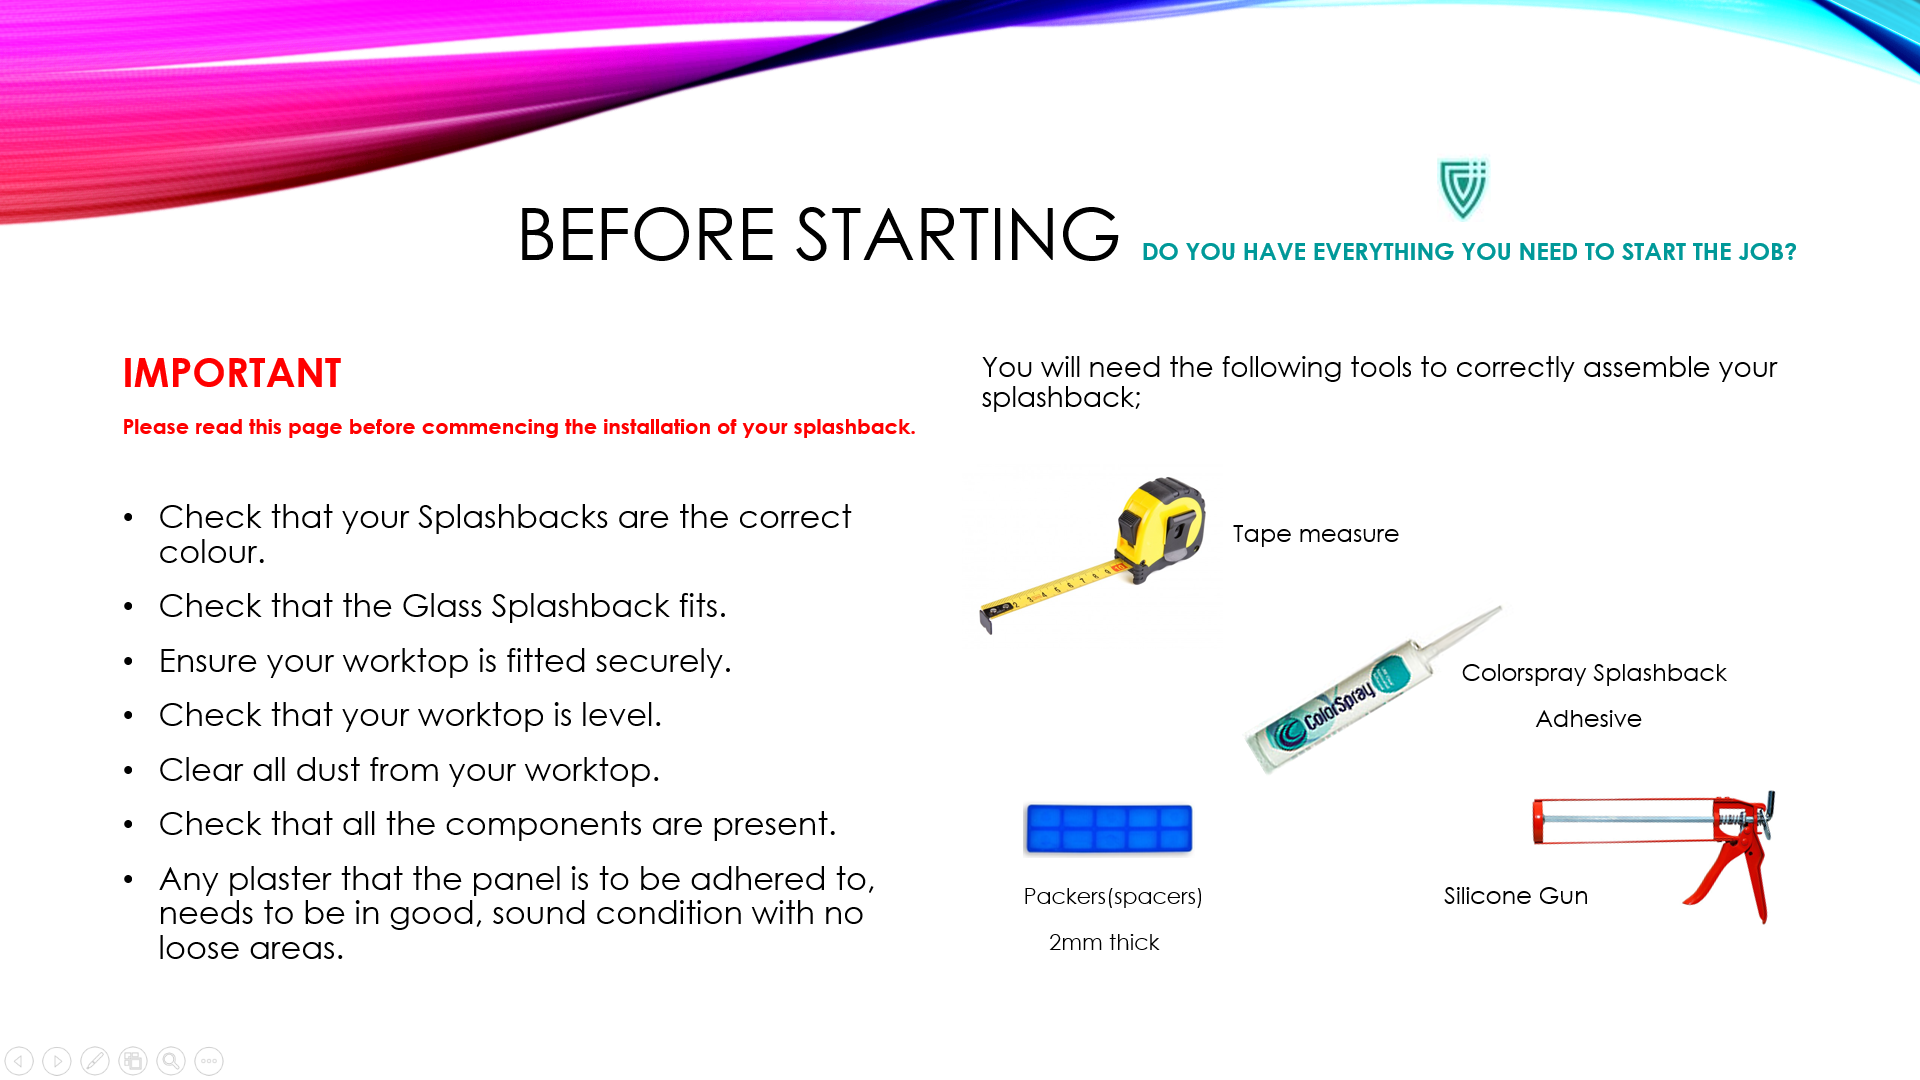
IMPORTANT
Please read this page before commencing the installation of your splashback.
- Check that your Splashbacks are the correct colour.
- Check that the Glass Splash back fits.
- Ensure your worktop is fitted securely.
- Check that your worktop is level.
- Clear all dust from your worktop.
- Check that all the components are present.
- Any plaster that the panel is to be adhered to, needs to be in good, sound condition with no loose areas.
SAFE HANDLING OF GLASS
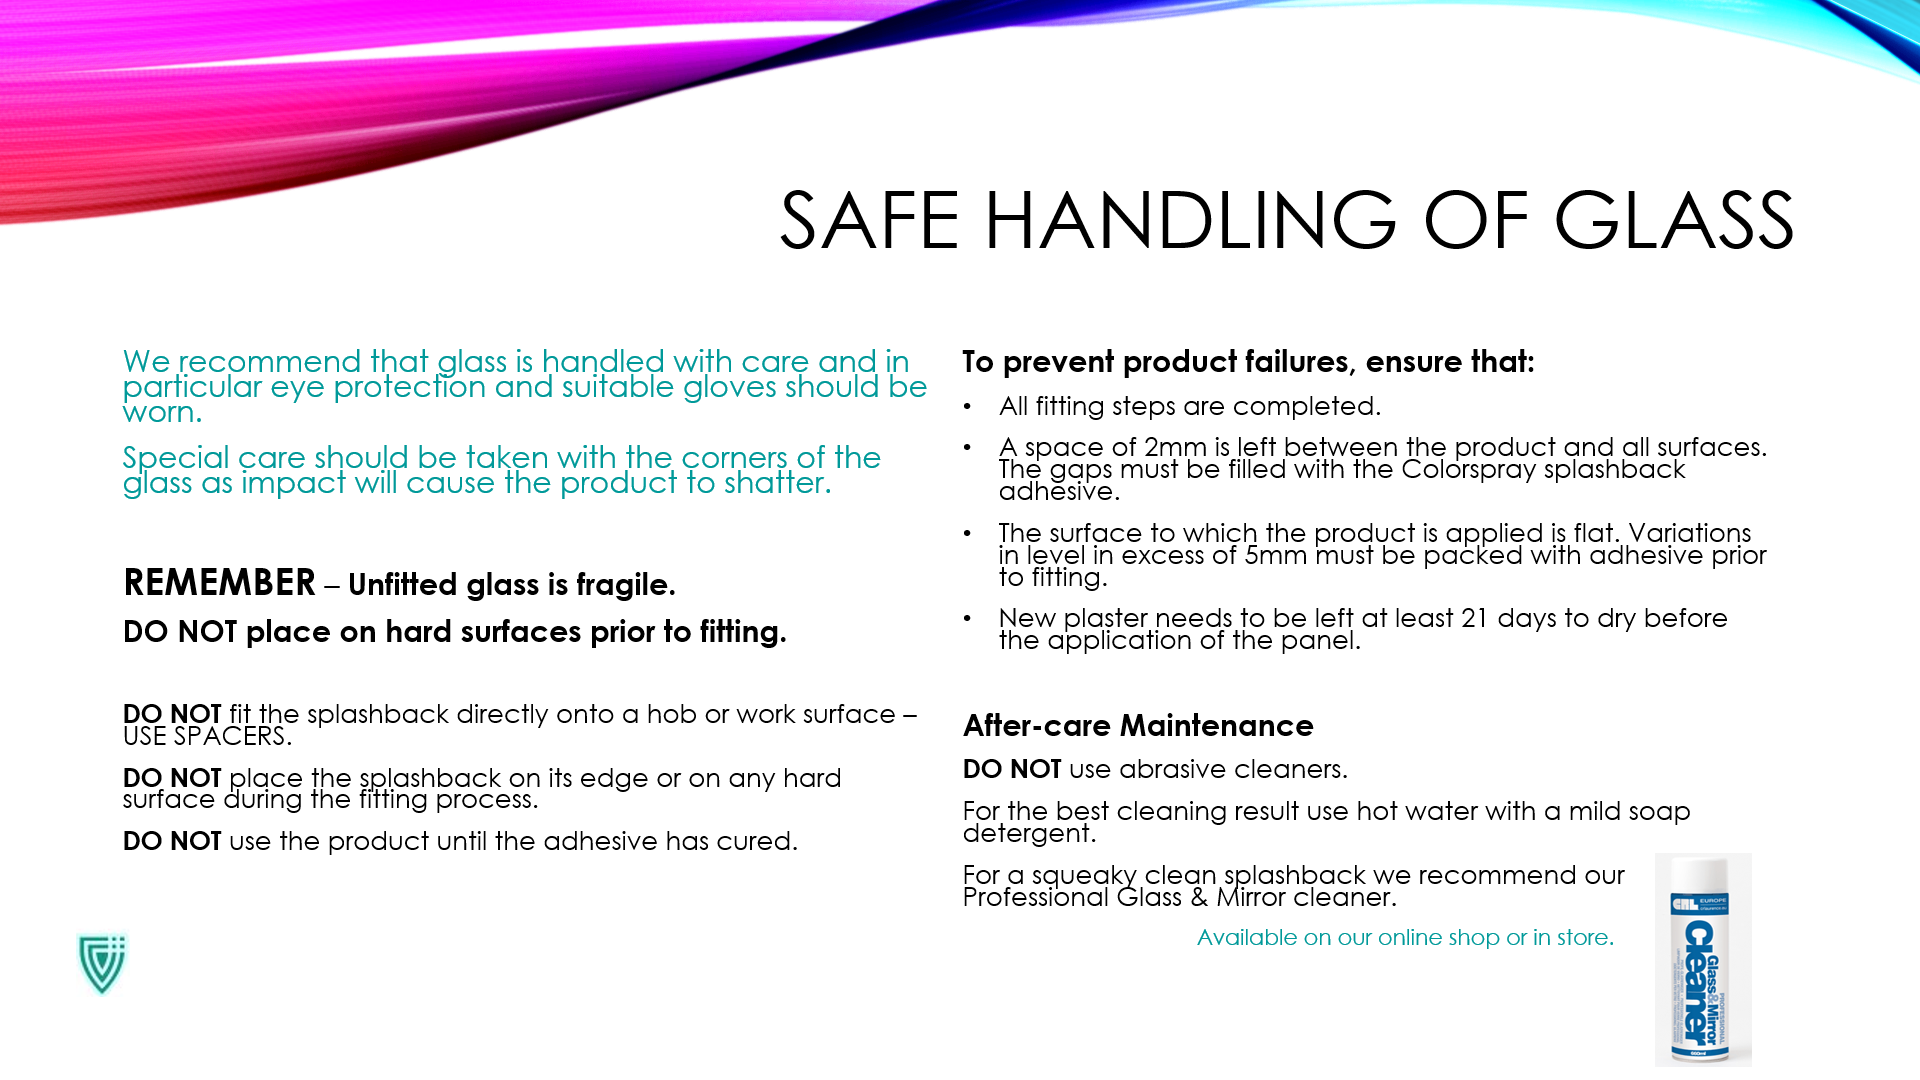
We recommend that glass is handled with care and in particular eye protection and suitable gloves should be worn.
Special care should be taken with the corners of the glass as impact will cause the product to shatter.
REMEMBER – Unfitted glass is fragile.
DO NOT place on hard surfaces prior to fitting.
DO NOT
fit the splashback directly onto a hob or work surface – USE SPACERS.
DO NOT
place the splashback on its edge or on any hard surface during the fitting process.
DO NOT
use the product until the adhesive has cured.
To prevent product failures, ensure that:
- All fitting steps are completed.
- A space of 2mm is left between the product and all surfaces. The gaps must be filled with the Colorspray Splashback Adhesive.
- The surface to which the product is applied is flat. Variations in level in excess of 5mm must be packed with adhesive prior to fitting.
- New plaster needs to be left at least 21 days to dry before the application of the panel.
After-care Maintenance.
DO NOT
use abrasive cleaners.
For the best cleaning result use hot water with a mild soap detergent.
For a squeaky clean splashback we recommend our Professional Glass & Mirror cleaner.
STEP 1.
First check the dimensions an ensure the surface being fixed to is flat, non-porous, dry and dust free.
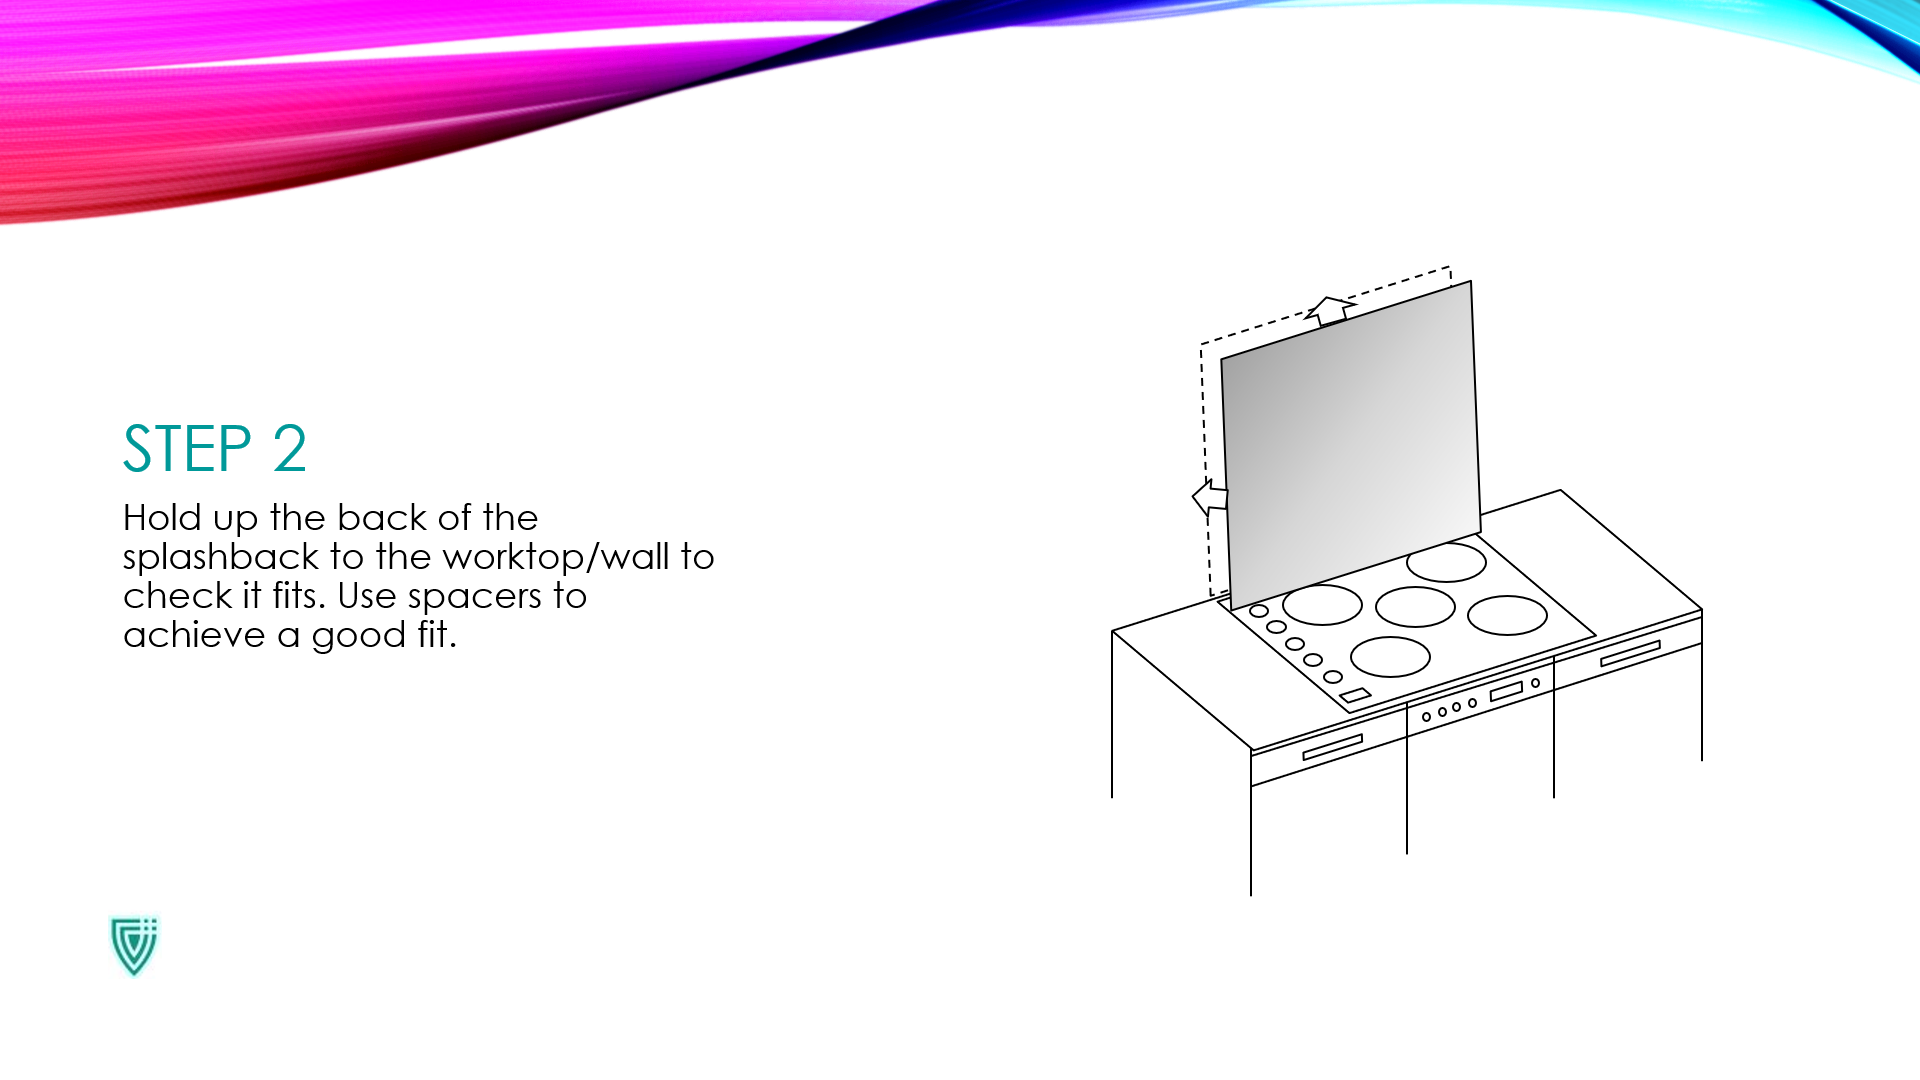
STEP 2.
Hold up the back of the splashback to the worktop/wall to check it fits. Use spacers
to achieve a good fit.
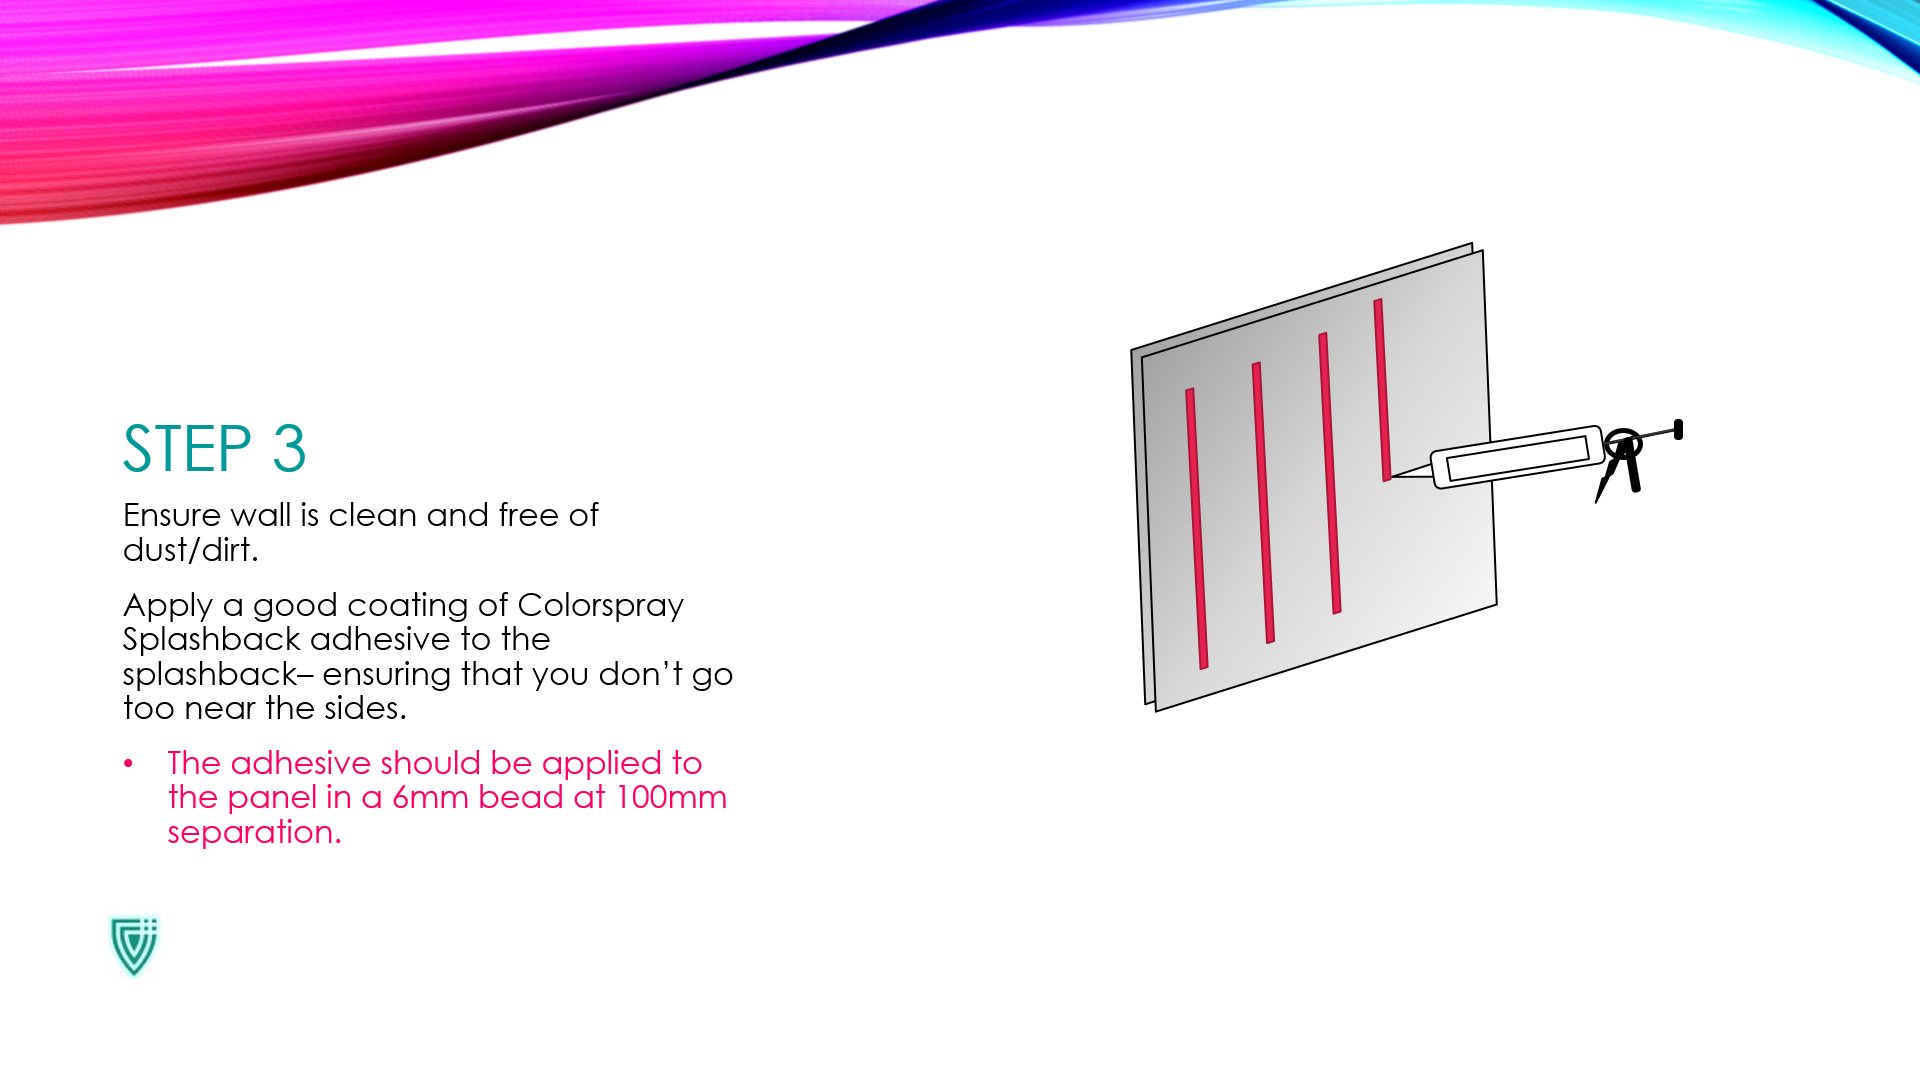
STEP 3.
Ensure wall is clean and free of dust/dirt.
Apply a good coating of Colorspray Splashback Adhesive
to the splashback– ensuring that you don’t go too near the sides.
- The adhesive should be applied to the panel in a 6mm bead at 100mm separation.
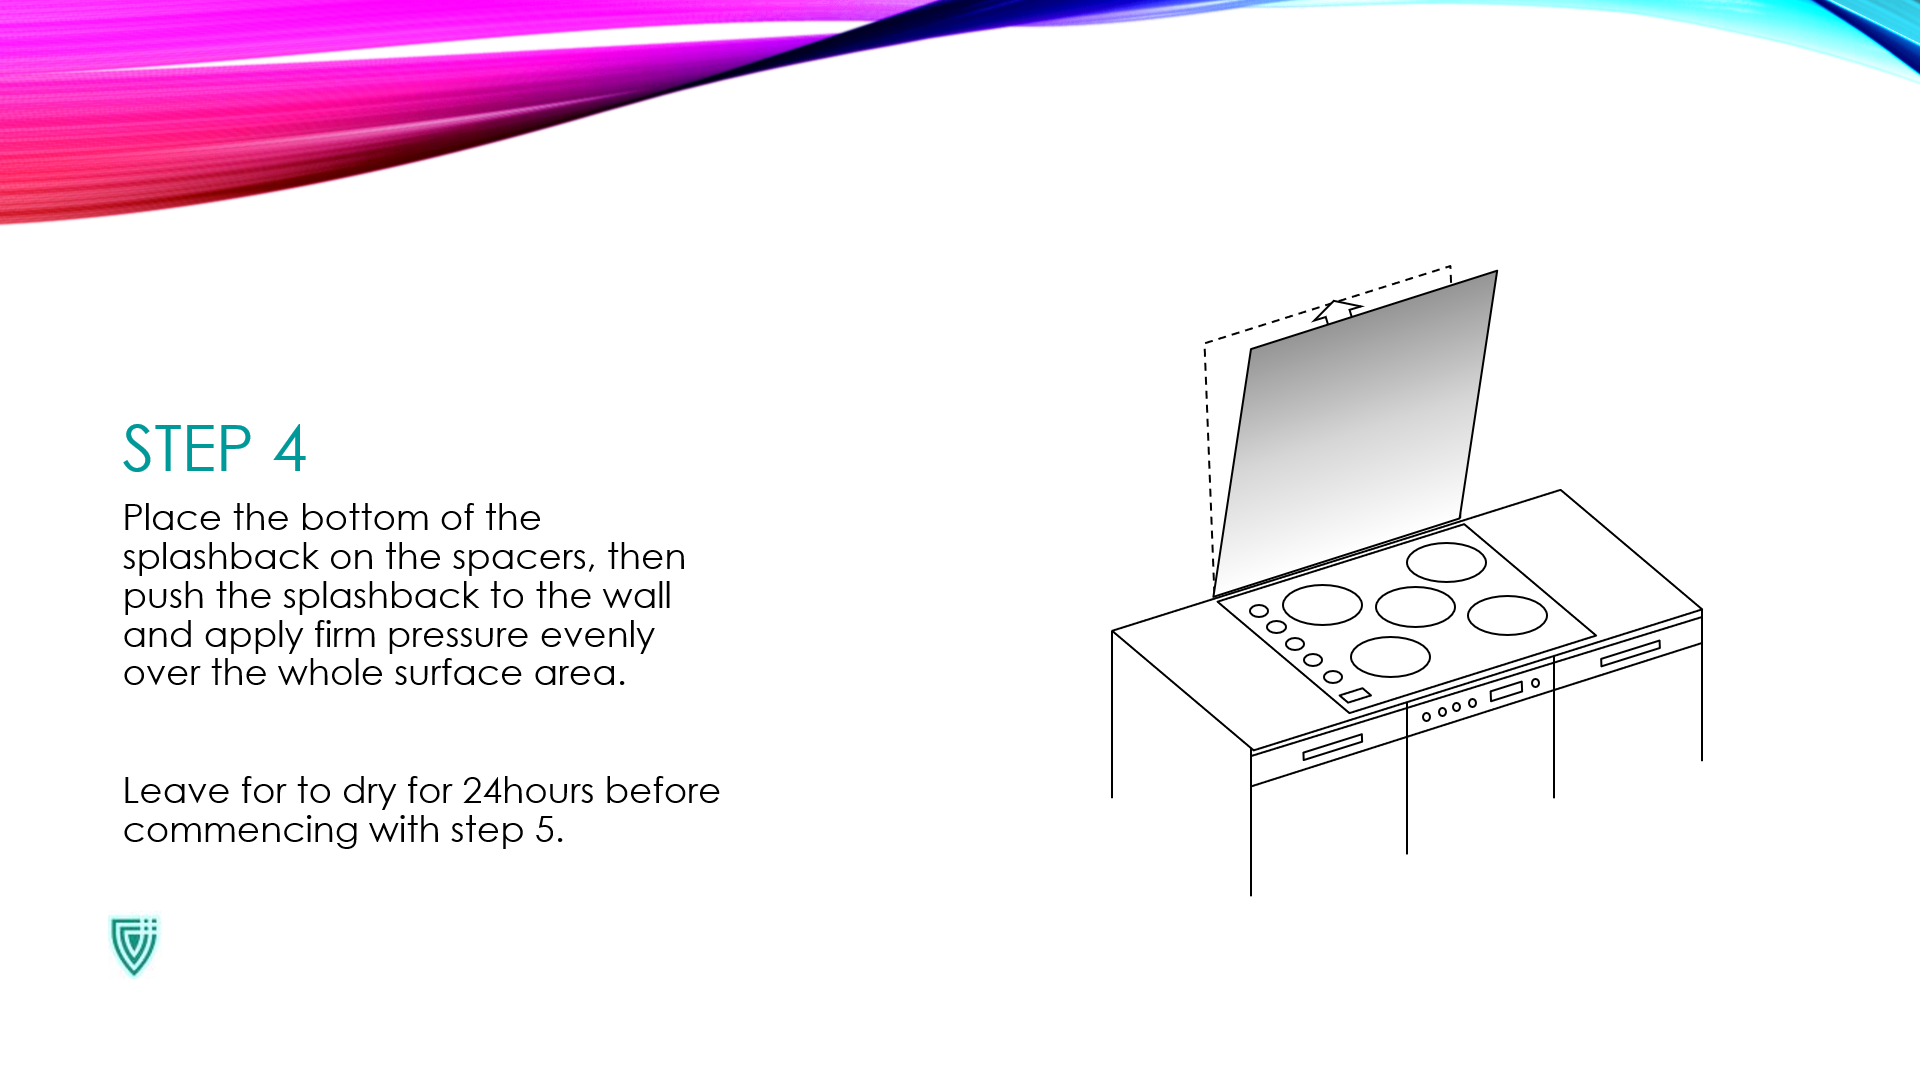
STEP 4.
Place the bottom of the splashback on the spacers, then push the splashback to the wall and apply firm pressure evenly over the whole surface area.
Leave for to dry for 24hours before commencing with step 5.
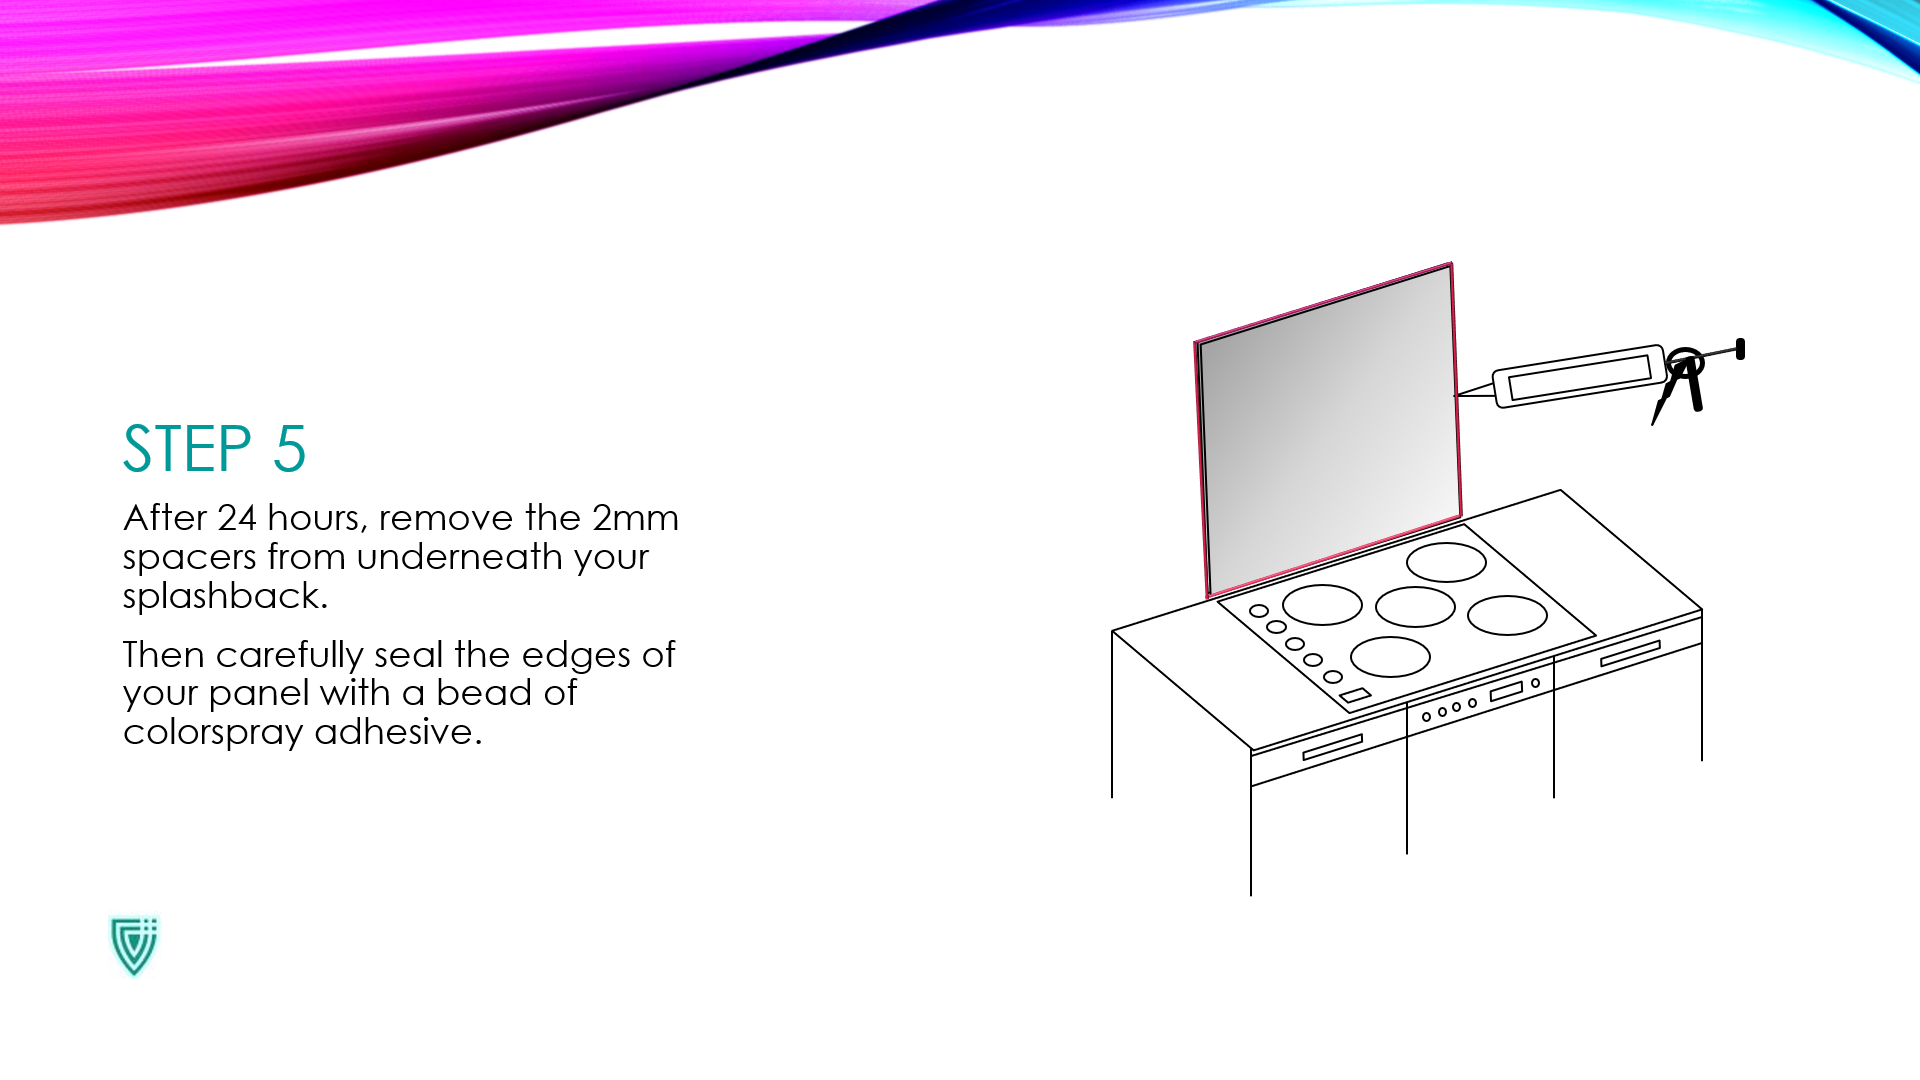
STEP 5.
After 24 hours, remove the 2mm spacers from underneath your splashback.
Then carefully seal the edges of your panel with a bead of colorspray adhesive.